
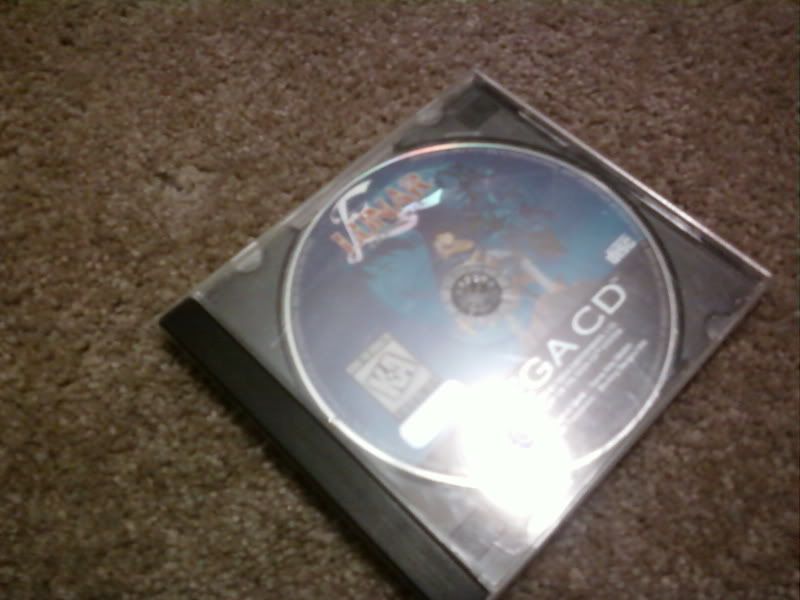
This is actually something I've had on the back burner for a VERY long time. Unfortunately, unlike all the other Lunar games I have (which is every one of them released in the U.S.), I did not purchase my Sega CD copies new. Silver Star I bought at a video rental place back in 1994 that was going out of business for $5!!
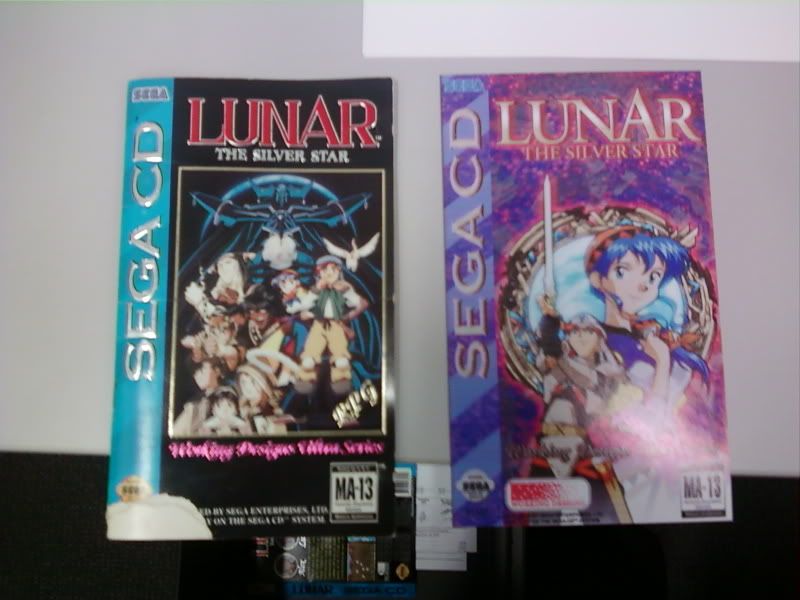
As there are considerable differences between the Sega CD artwork of the games compared to their more recent remakes, I had always wondered how nice it would be if my old Sega CD Lunar games carried artwork that was similar to the newer games. A while back, I ran across these awesome box arts by an author by the name of 'darkwickus' and right away thought they would look great on a real case instead of on a computer screen.
http://www.vgboxart.com/view/28336/luna ... replies=10
http://www.vgboxart.com/view/28788/luna ... ?replies=9
So some time has gone by and I recently bought a new house and was unpacking a lot of my old games and came across the two Sega CD Lunars. I finally figured it was time for them to receive the remodel.
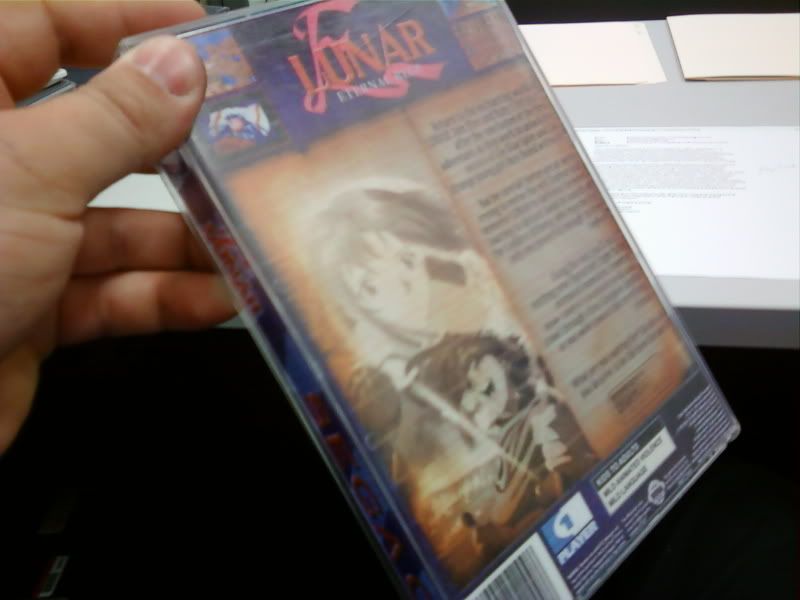
As mentioned, my Eternal Blue game didn't have any case whatsoever, so anything at this point would be an improvement. While my Silver Star game really didn't need it, at some point back in the late 90's the cover of the instruction booklet got a piece tore off. Honestly I have no clue how it happened and it's irritated me ever since.
Fortunately, I work for this really neat job at the federal government where I work with audio and visual records, so I get access to photo prints and photo grade paper and prints. I figured I'd use the resources a bit and take a few attempts at transferring this artwork to the real thing.
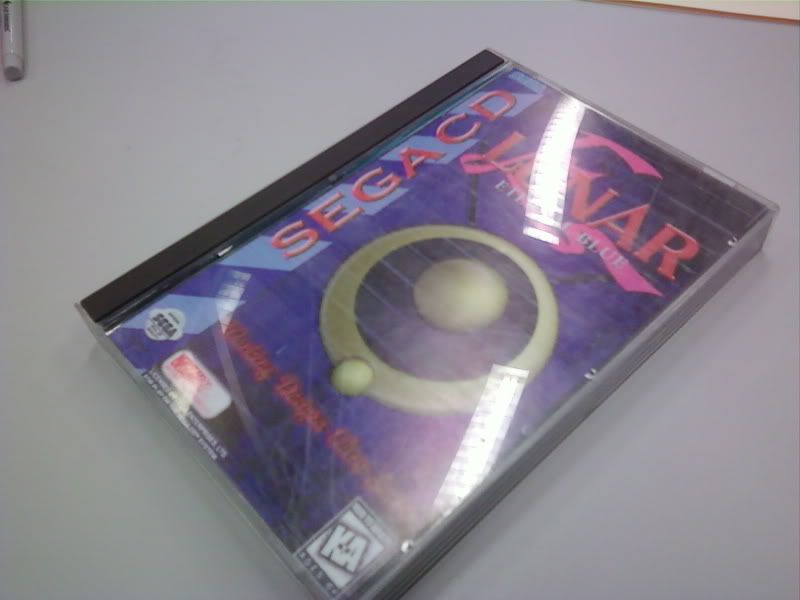
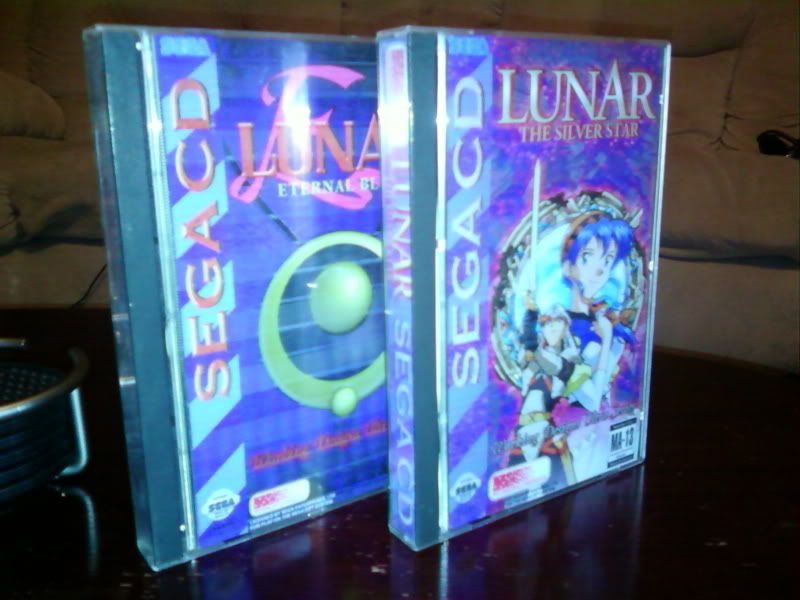
Here's my Eternal Blue:
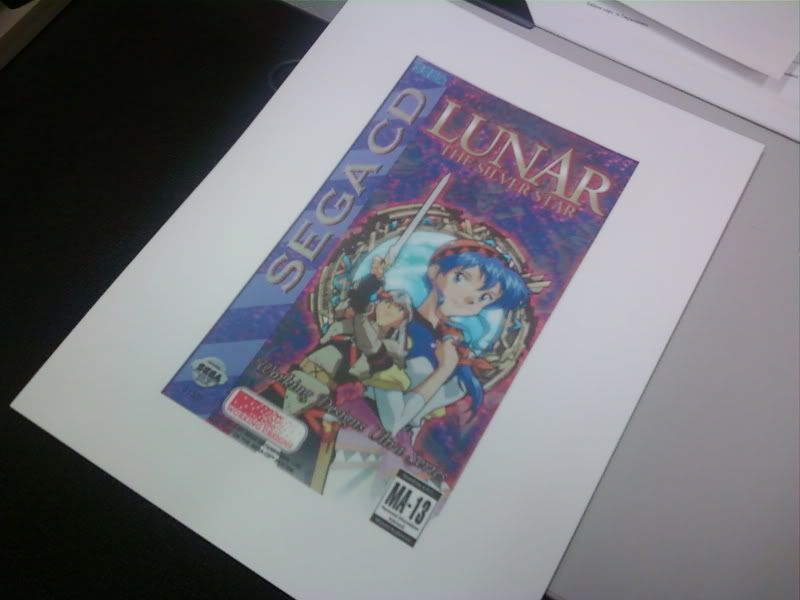
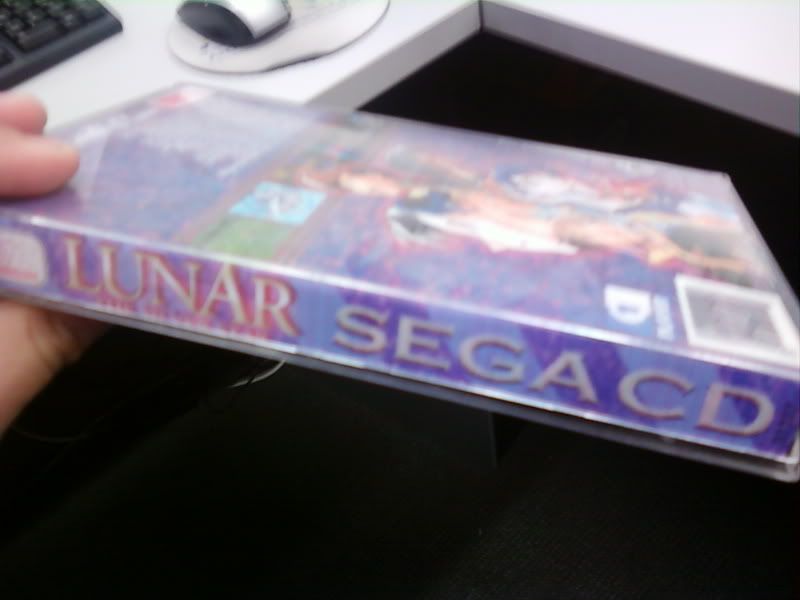
Here's my Silver Star:
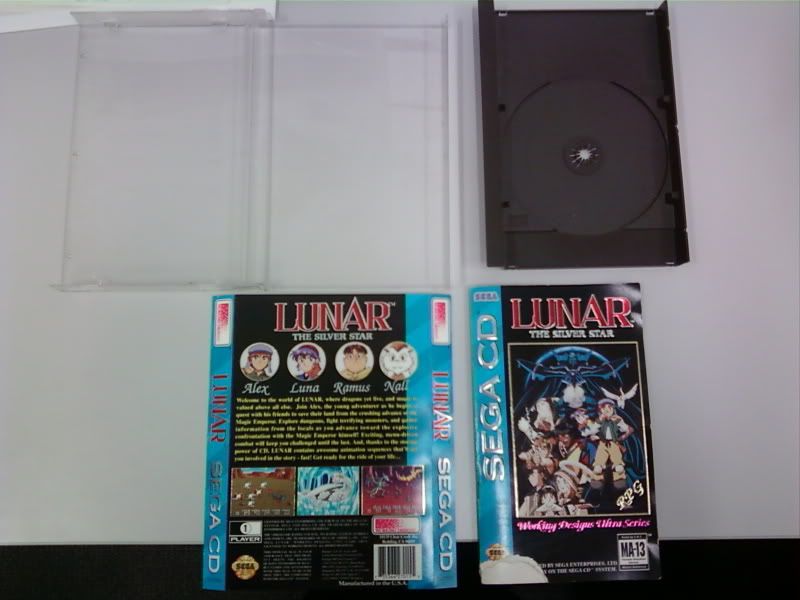
I first measured the Silver Star's back insert and instruction book to get some rough estimates on how big the print needed to be. I then cropped and adjusted the images accordingly until I got them where I wanted it.
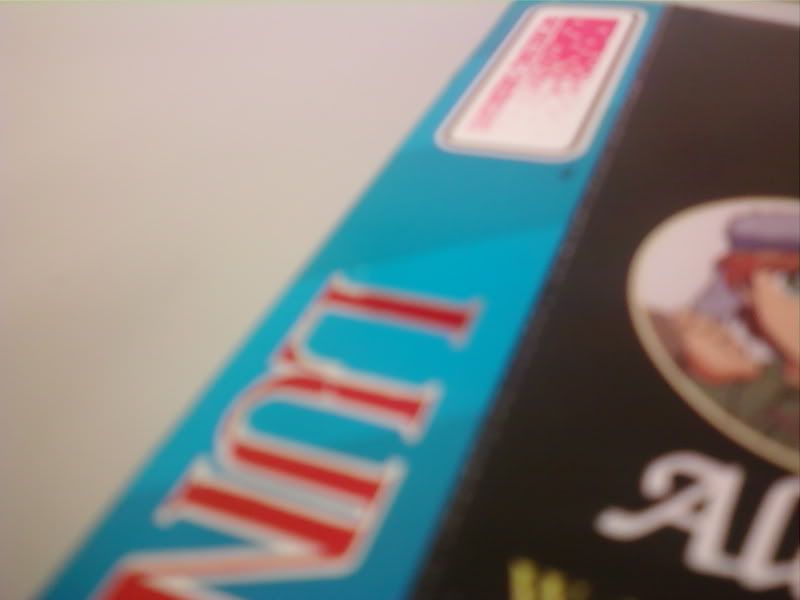
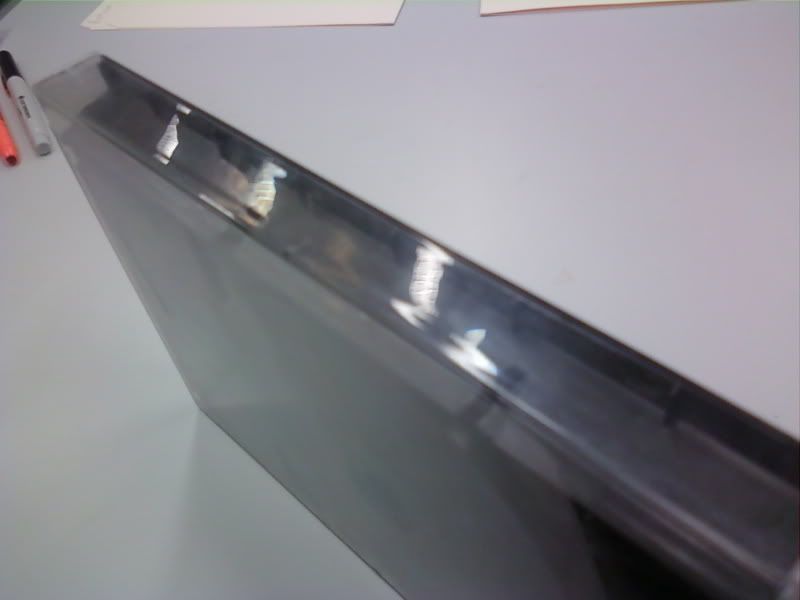
There were a few challenges with this. As most of you likely know, these old large case inserts were perforated along the sides so they would fold into the case. This is done to lower costs, as when you assemble the cases a worker would just fold the edges and slide it in without worrying about damaging the insert.
Image showing perforation on the original insert. A bit hard to see.
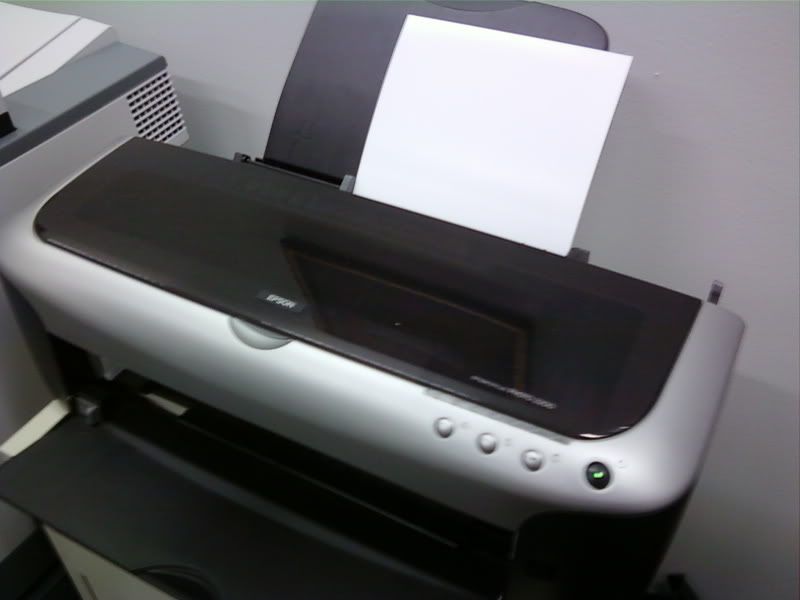
The machine. Epson 2200 photo printer with eight ink cartridges and photo paper.
I did 'quick prints' with these, so they're not of the best quality, but this run was just to see if this setup would actually work.
First a test page on regular paper on a 'regular' color printer to test the size. A bit of trimming was needed, but it was in the general vicinity of where it needed to be.
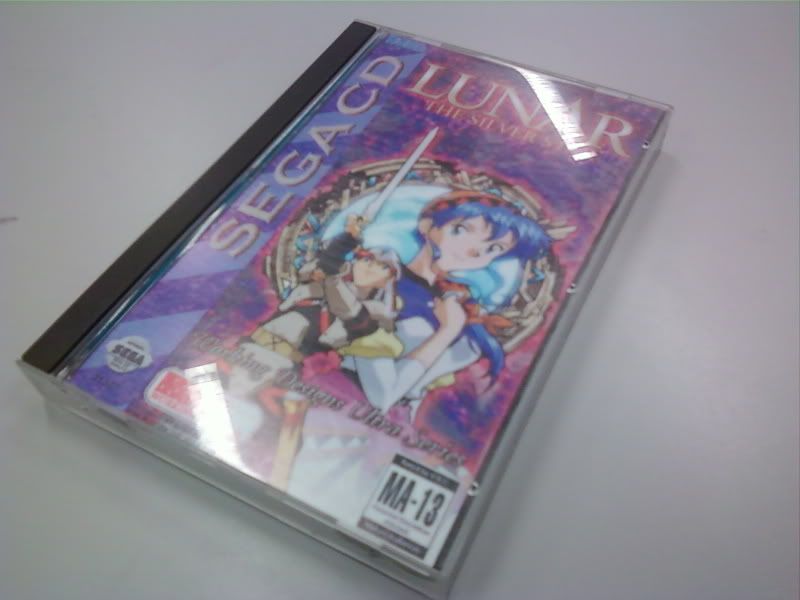
Then I printed it on the photo paper. Side by side with the original.
In the case.
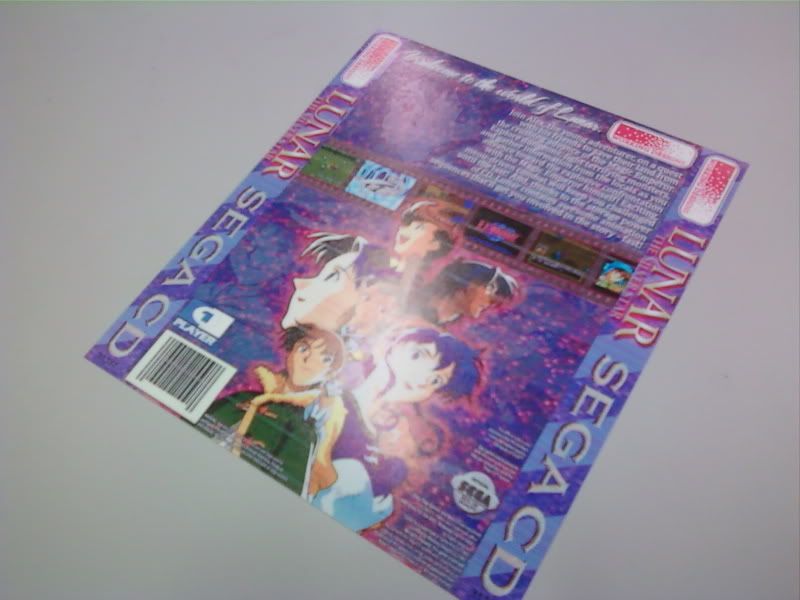
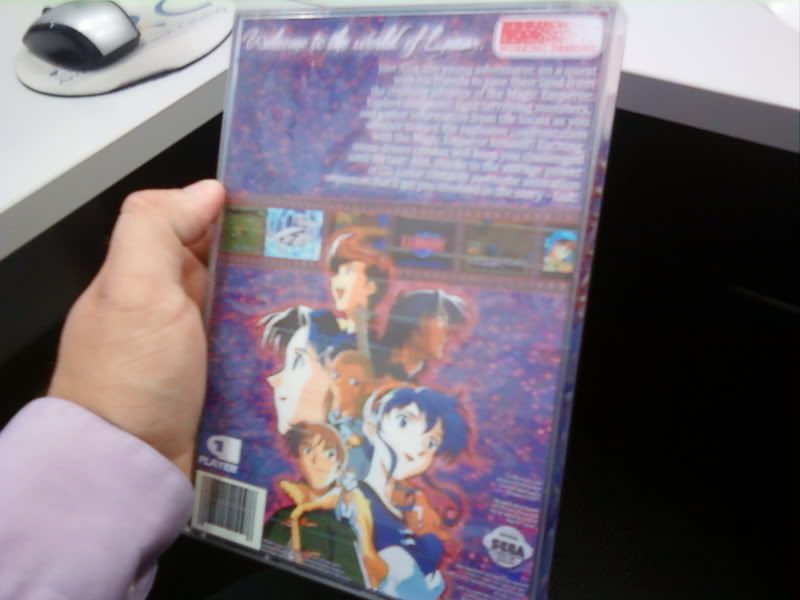
Next came the back.
Here's where the tricky part came in. Obviously this photo paper doesn't have any sort of way to bend it, and if you've ever bent a photo you know that there can be all kinds of crinkles that appear along the bend. You also can't separate the sides from the back because there's no way the inserts would stay, as shown in the image below.
I decided to try and bend the insert using my large photo paper cutter as the fulcrum. I bent it color side first, then using that flipped it over and CAREFULLY bent it the other way to get the bend needed so it would sit in the case.
Like so.
Back shot. Again this isn't the best quality, and was just to see if this would actually work. So far all the inserts stay in place.
Now Eternal Blue
And the back.
When I got home I got to admire my work a bit better. You can see the Eternal Blue insert didn't print out all that great.
With the other Lunar games...
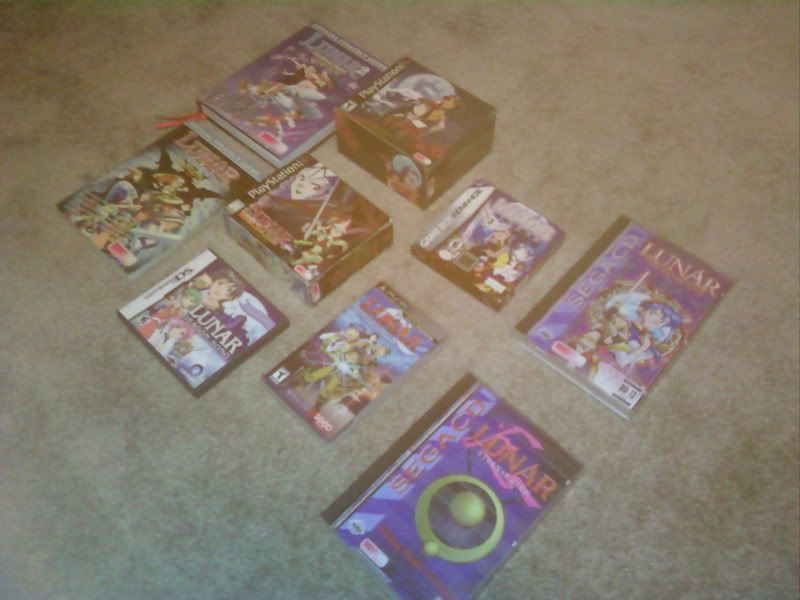
And with some of my more favorite Working Design games.
I hope you enjoyed. I'm very pleased with the way they look and will eventually get them printed in a higher quality format on high gloss paper.